
These pictures were taken quickly and with a phone, so I apologize for any quality issues that may have resulted. Now, onto the process after the cut.
After ordering and receiving a suitable set of kneepads, I made a stop at the hardware store and picked up some paints and primer for about $15 total.

In fact, I had to get one more can of paint than I had first anticipated; the kneepads were blue, and since I'm putting together a Red team costume, the navy material wouldn't have been acceptable. Thankfully, the paint was cheap, so I picked up a can of black.
The first step was simple enough: prime everything but the straps. Everything. This was the easiest bit of the process.

While I would have liked to move on immediately in my excitement, I gave the primer a full day to dry and set completely so it wouldn't be pulled up with drafting tape.
The next day, I covered off the plastic caps with newspaper and some drafting tape, and gave the material a solid coat of black paint.

This was given another day to dry and settle fully.
While it took another day or two for favorable weather, yellow would be up next, so it was time to reverse what was taped and papered off.


Next up, the yellow coat.
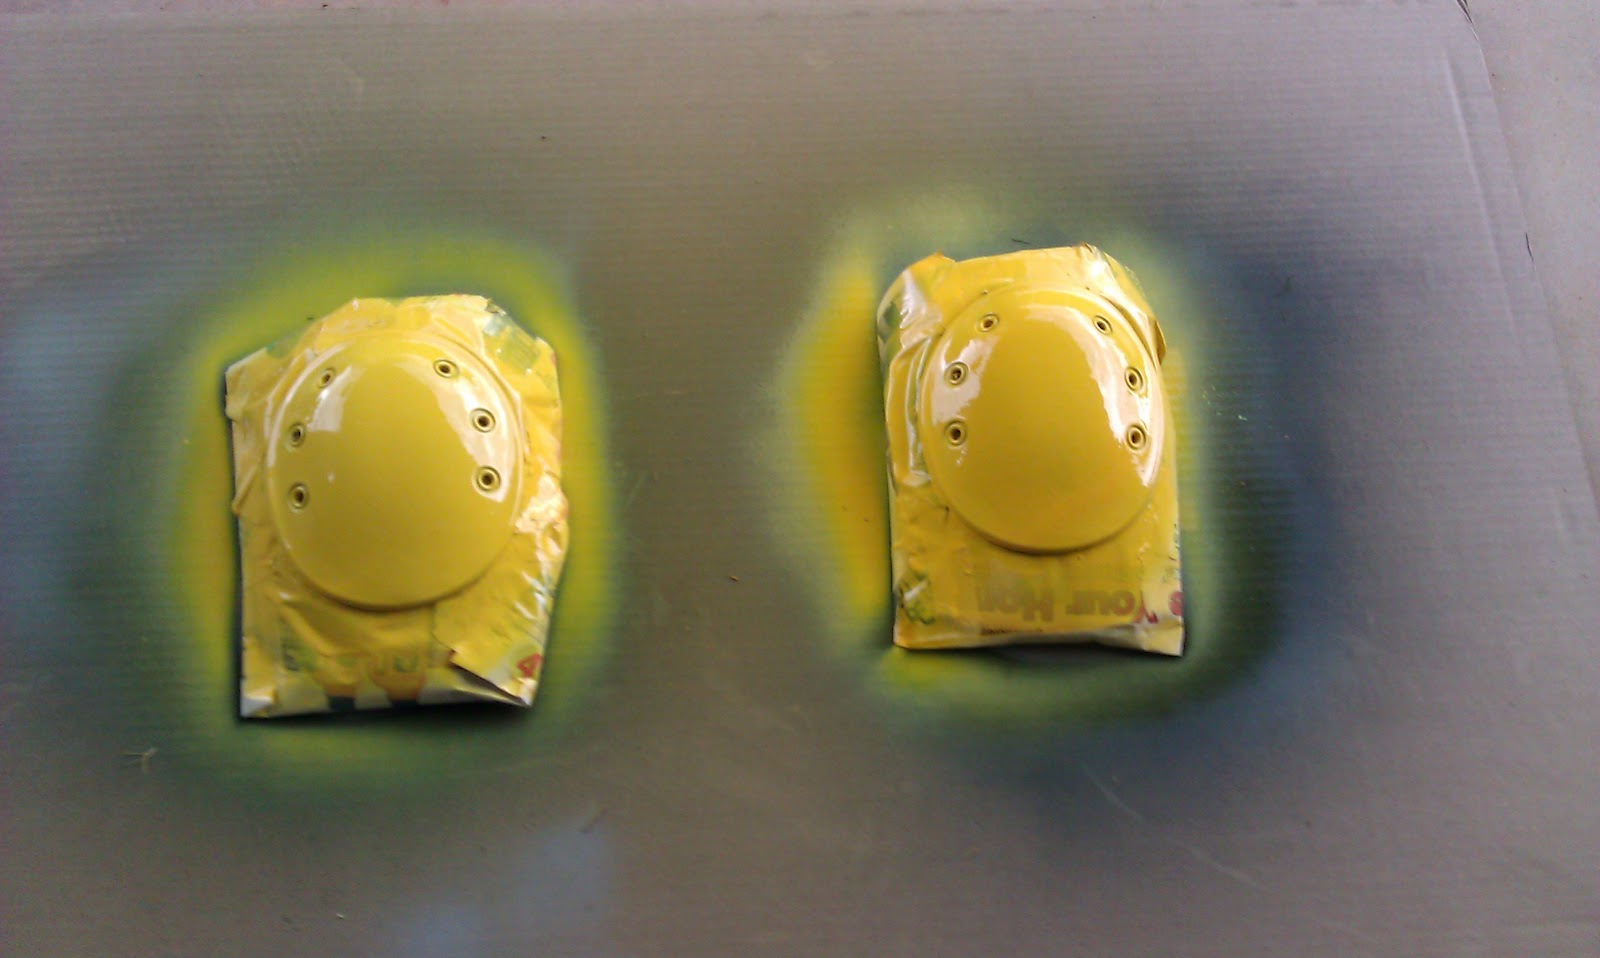
I have to recommend against painting in a grassy area, at least in areas with a lot of insects. This nearly went sour when a big mosquito decided it would be an excellent idea to land in the fresh yellow spray paint, and I had to run back inside for a paper towel, scrape the bug out, and reapply paint more heavily than I'd first intended to. But the yellow turned out just fine, so, crisis averted.
While the silver detailing didn't require covering up anything else, the heavy coat of yellow did need to have another layer of papers tucked between the cap and the first covering to keep the paint from outright gluing itself down. Some brief use of sandpaper was involved after the first day of drying, to remove some of the excess. Overally, the yellow paint spent about two and half days being left to itself.
Once I was satisfied with the state of the yellow coat, I started in on the neck-straining process of adding some metallic wear via silver spray paint:


This was the most involved step. I used a paper towel to rub very light sprays of silver paint as well as scuff some larger streaks onto the caps (by spraying the paper towel first and lightly scuffing it across the surface). To get the rivets looking metallic again, I just used a handful of Q-tips to apply the paint. I'd recommend experimenting on another surface first, as I did on the cardboard sheet before starting in on the kneepads.
And finally, after about a week of spraying and waiting and spraying again, the kneepads were finished!
I'm quite happy with them.
No comments:
Post a Comment